Delayed Vaporization
The need to vaporize liquid fuel from a canister is exactly the same issue faced by any liquid-fuel stove, and the solution is straightforward: send liquid fuel through a pre-heating coil, to raise its temperature above its boiling point. In a canister stove, this means simply inverting the canister, to feed the stove with the canister's liquid fuel mixture instead of just the portion of the mixture (i.e. propane) that already vaporized inside the canister.
Pumping Fuel
Liquid fuel stoves rely on the user to pressurize the fuel tank with a mechanical pump. Inverted canister stoves need no pump, because (as long as the temperature of the canister is above -40°) the vapor pressure of the boiling propane is enough to drive the stove.
In Practice
As I mentioned above, inverting the canister converts a vapor-fed stove into a liquid-fed stove, so all of the canister's fuel components feed the stove together, regardless of the boiling point of each of the components.
Like all liquid-fed stoves, an inverted-canister stove needs “priming”. In this case, priming is easy: start with the canister upright and burn a little propane to warm the pre-heating coil and get the fuel vaporization process started. Once the stove is warm, invert the canister.
As with any liquid-fuel stove, there is the risk of a flare up when you invert a fuel canister. But the boiling point of even the most liquid portion of the fuel mix is so low — below freezing — that priming is relatively quick and easy, and a flare up is unlikely.
The Current State of the Art is Not Good Enough.
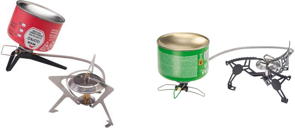
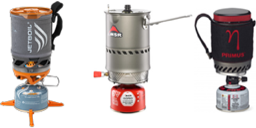
I complained, earlier, that the available hanging stoves are heavy and the available hanging kits for standing stoves are klunky. In fact, the coupled pot/stove systems with heat exchangers from Jetboil, MSR and Primus are not too hard to hang. And they work well in not-too-cold conditions and at high altitude.
But what about cold conditions at low altitude like, for example, winters in northern New England? Though there are now inverted-canister stoves on the market, no manufacturer currently offers a practical hanging inverted-canister stove.
I got impatient, so I made my own.
Cryophilio
|
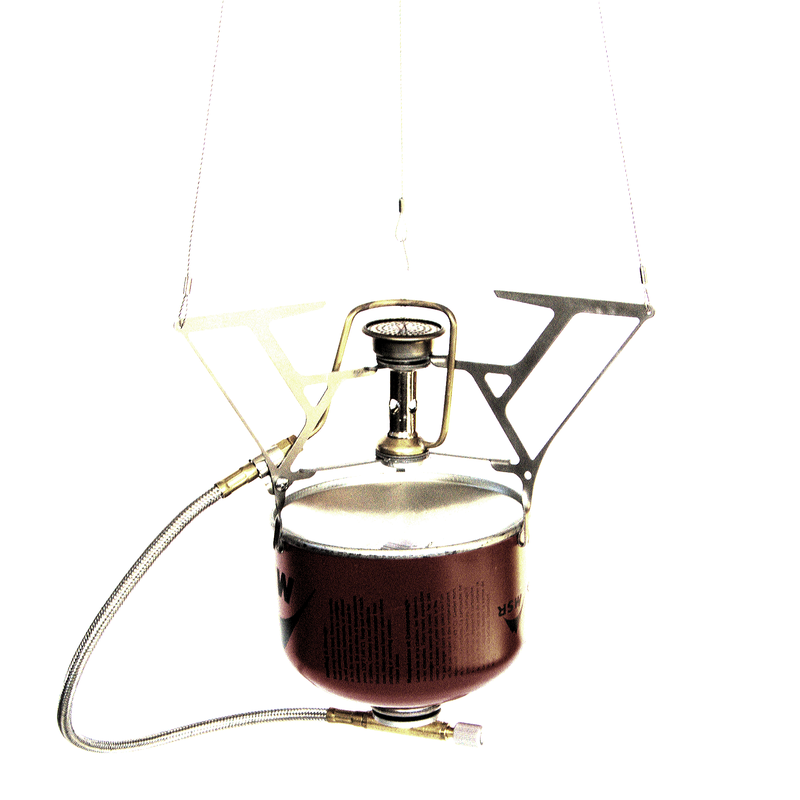
I am neither an engineer nor a designer, so my options for making my own stove were limited. I started with a remote-, inverted-canister stove that I thought would adapt well to hanging; I chose the Edelrid Opilio.
I removed the legs and designed arms to replace them, which I had somebody cut from titanium with a water jet. Then I bent and twisted the arms into shape by hand. After swaging some stainless steel cable to the arms and joining those cables into a loop for hanging (padded with just a tiny bit of silicone tubing), my stove was done.* The resulting stove is rugged, lightweight and efficient. Did I mention lightweight? At 152g, this hanging inverted-canister stove is actually lighter than the stock Edelrid Opilio (170g) from which it is derived. It is also lighter than the Primus Express Spider (198g), the MSR WindPro II (187g) and the Optimus Vega (178g) — even before rigging any of those for hanging. |
*Actually, I did make one other modification before my stove was done: I slipped a piece of wire rope into the pre-heating tube, to reduce its volume. This tiny modification has nothing to do with turning the Opilio into a hanging stove though. It just makes the pre-heating tube work better, by raising its surface-to-volume ratio.

